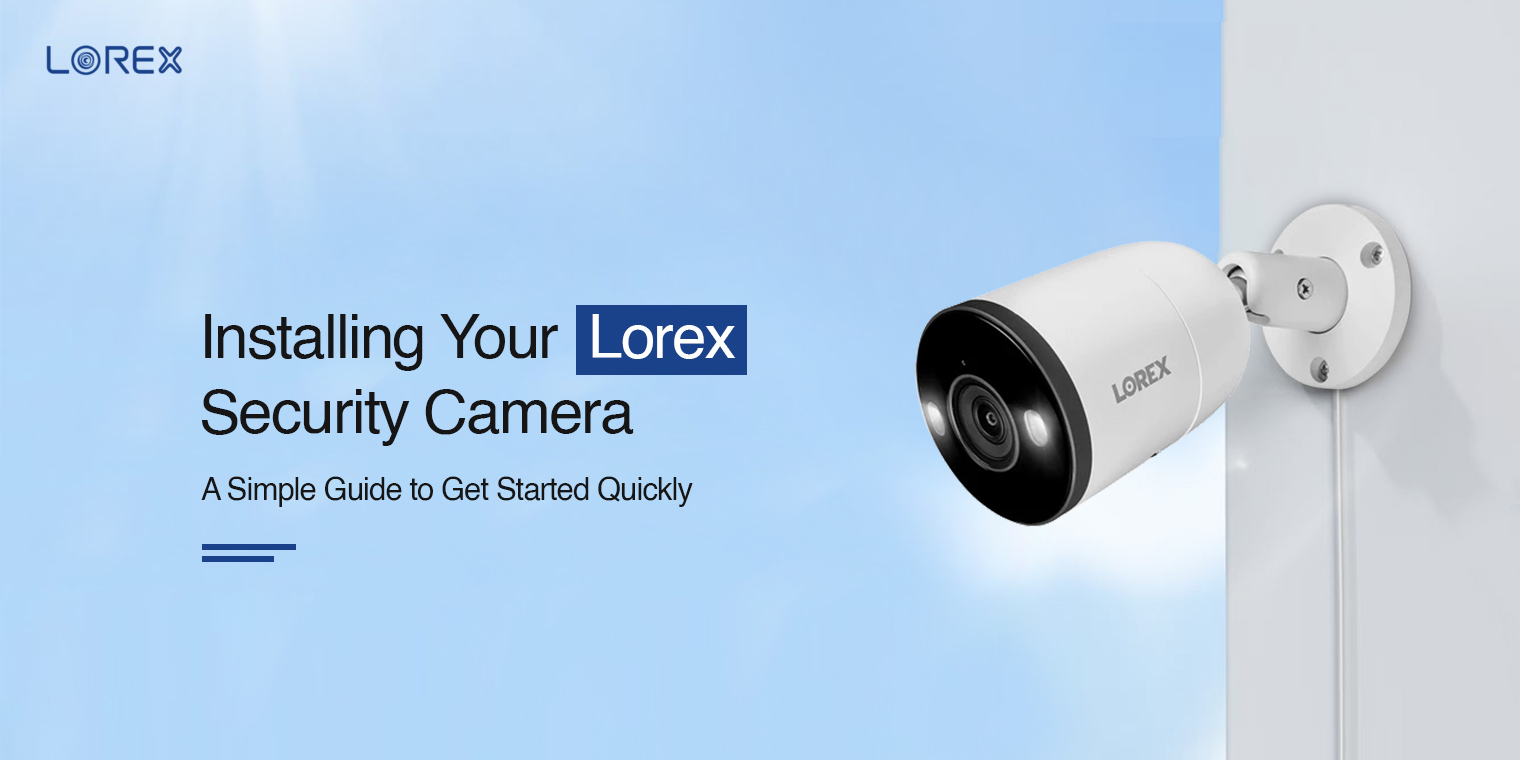
As day-by-day, technology is developing, security threats are also rising at alarming rates. Thus, it is important to have a surveillance camera in your home. Likewise, Lorex cameras provide the utmost security to loved ones. Therefore, to utilize these advanced features efficiently, it is important to know about the Lorex camera installation process.
Generally, before you go ahead with the installation process, it is important to have Lorex cameras, USB cables, an active internet connection, a mounting bracket, screwdrivers, a smartphone, an SD Card, etc. Further, in this blog, you will learn how to install Lorex cameras efficiently. So hold your horses and read ahead!
How Can I Perform the Lorex Camera Installation?
After having all the necessities of camera installation, it is now to go ahead with the process. Before Installing Lorex wireless security cameras , make sure there are no obstructions and place the camera within the router’s range. Further, the installation is divided into four sections mentioned below:
Unboxing of the camera
- First and foremost, unbox all the components of the camera carefully from the package.
- Next, inspect all the parts thoroughly and make sure that all the parts are in a safe and working condition.
Connecting Lorex Cam to the NVR system
- After unloading all the parts, it is now time to connect the Lorex camera to the NVR system.
- Additionally, you need to test your cameras before selecting a permanent mounting location by temporarily connecting the cameras and cables to your NVR.
- Next, Connect the recorder to your router using the included Ethernet cable.
- Now, link any wired/wireless mouse to the USB port as shown on the recorder.
- Further, connect the recorder to a monitor using the included HDMI cable or a VGA cable.
- Then, ensure that enough power is supplied to the NVR system by connecting it properly to the nearby electrical source.
Installing and Mounting the Security Device
- Firstly, you need to pair the NVR recorder with the Lorex app.
- Now, go to the place where you want to position your camera.
- Next, mark the selected area using the pencil where you want to drill the camera.
- Then, place the anchors and screws using the screw drive and fit the mounting plate on them.
- Hereon, place the camera on the mounting plate.
- After mounting the camera, adjust the angle of the camera according to your needs.
- Download the Lorex app to add the camera and to view the angles.
- After that, open the app and either sign in or create an account.
- After that, configure the basic settings for the surveillance device and view the footage of the camera.
- At last, you are done with the Lorex camera installation process.
What Things Should Be Avoided When Installing Lorex Wireless Security Cameras?
Although, camera installation is an easy process that users can perform on their own. However, users do encounter issues while installing the camera. This mainly happens due to incorrect location, camera lightening not powered on, the device being out of network range, etc. Thus, whenever, you begin to install the camera, keep the following points in mind:
- Select the appropriate location to position your camera.
- Avoid positioning cameras behind sheer curtains, trees, or behind glass.
- Keep in mind that the light on the camera is powered on.
- Remove all the cracked or burnt cables and power adapters.
- Place the surveillance within the router’s network range.
- Tighten up both anchors and screws properly while fixing the mounting plate.
- Position the camera to the correct angle.
- Add the camera to the Lorex app to test its functioning.
Final Words
All in all, the given information regarding the Lorex camera installation helps you to understand the process completely. Here, you find the easy steps to position your camera on your own. Besides this, if you need to know more about the Lorex security cameras, then stay in touch with us!
